February Climb On Tryfan Bach

It's hard to find things to do in the February school half term week. The weather is usually bad, at least as far as doing anything outside with children is concerned and the hours of daylight are limited. Last year we decided to spend a few days in North Wales and were rewarded with perfect winter weather - clear skies, temperatures well below freezing and plenty of snow. This year we decided to go away for the whole week. We were staying at Hen Ysgubor , which I can highly recommend.

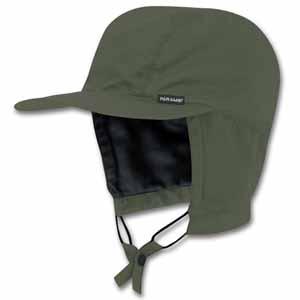
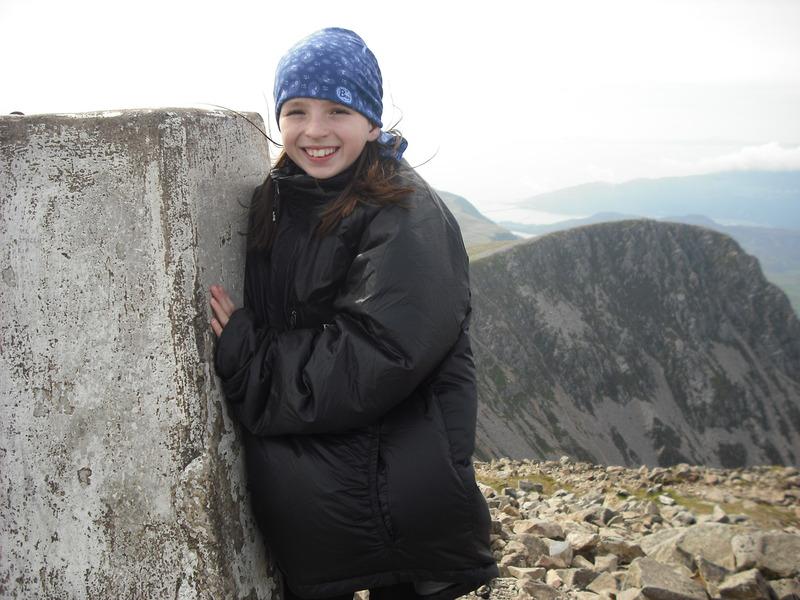
Ella shelters from the wind

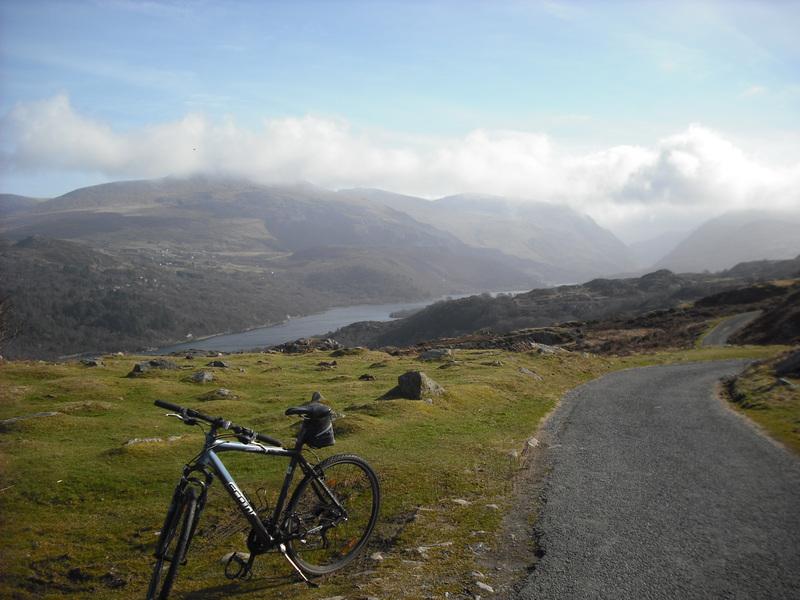
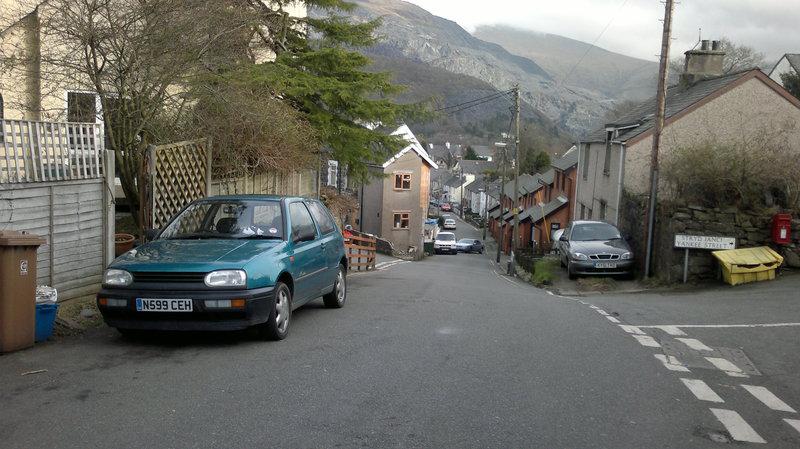
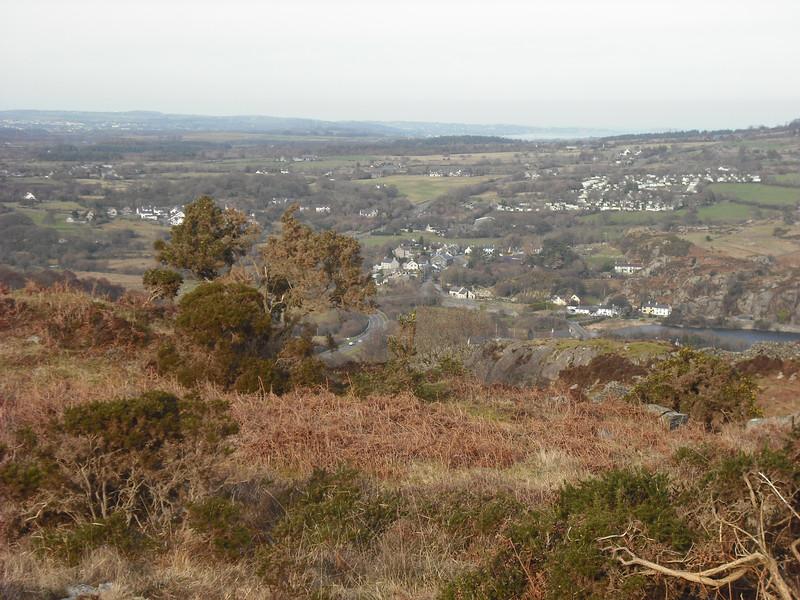
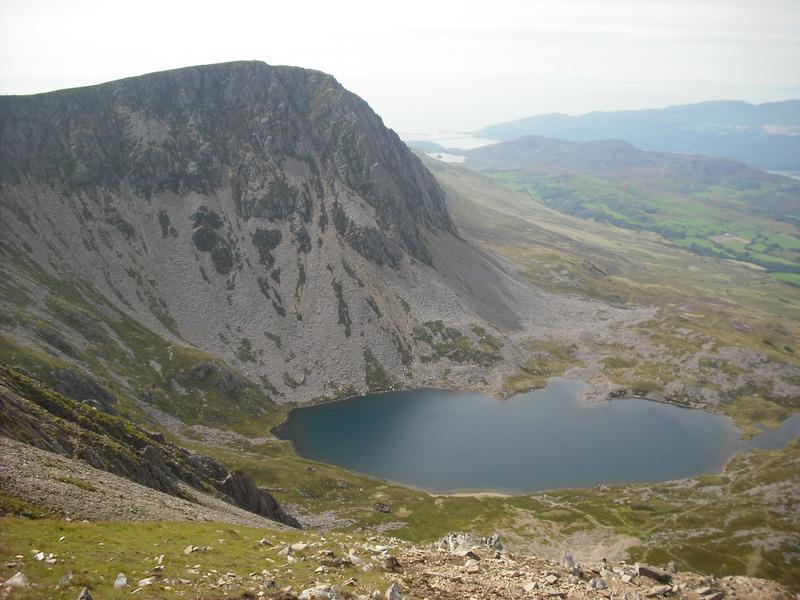
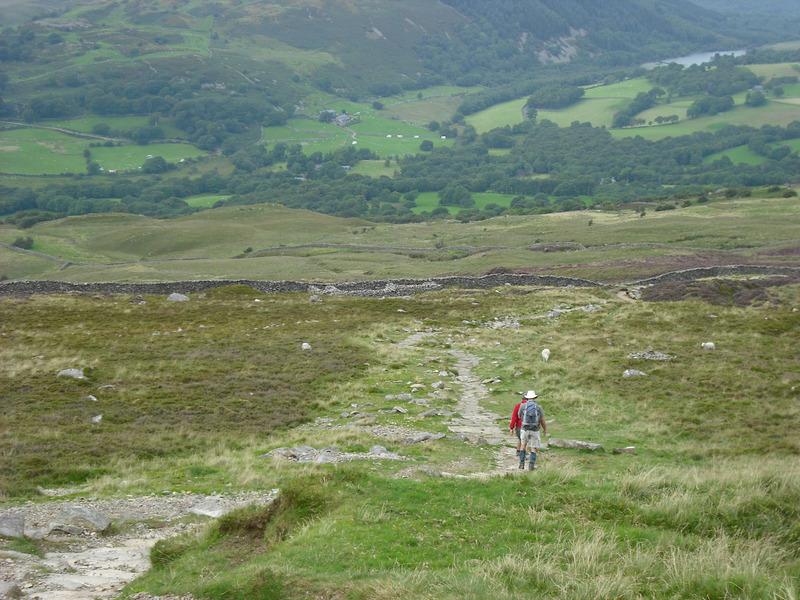
Unlike last year the weather was more mixed. Most days started misty with showers, but generally cleared by lunchtime. I made my annual ascent of M Mawr and for the first time the top was covered in cloud. We spent half a day cycling on a short circular route around Llanberis. In fact we enjoyed the ride so much, we did it twice! We spent a few mornings at the Beacon Climbing Centre , which has a nice relaxed attitude to letting children use the walls.

I had packed a rope, thinking that we might do Sentries Ridge on Mynydd Mawr, but the weather wasn't really good enough. However, I was determined to try and get in at least one route on rock. So one afternoon after going for a bike ride, three of us drove round to Ogwen. The plan was to do a climb on Tryfan Bach, which is only 10 minutes walk from the road, has a selection of easy climbs and an straightforward descent.

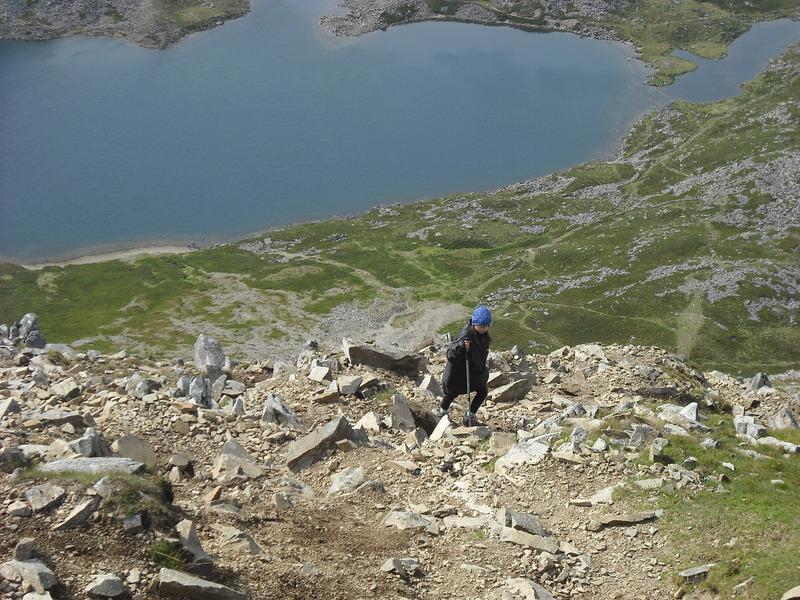
Getting close to the top

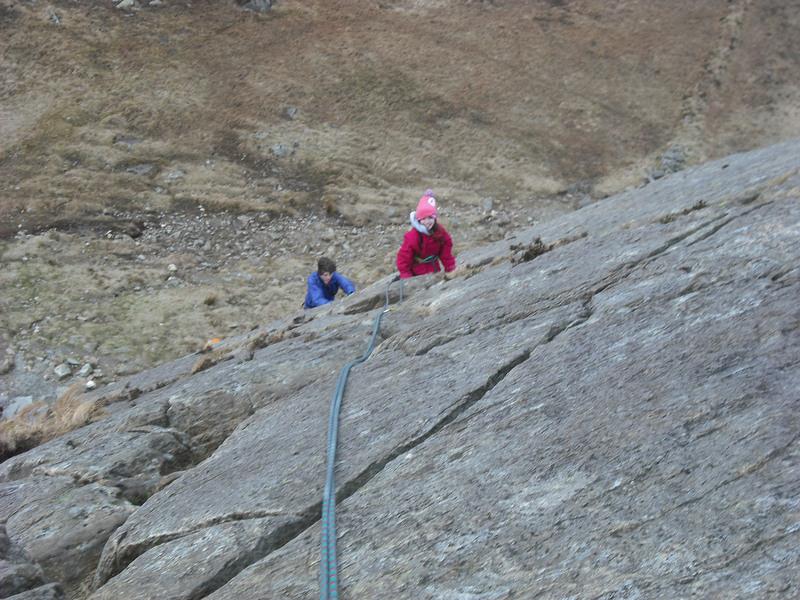
When we arrived things didn't look promising. Cloud was boiling down Cwm Tryfan, although Tryfan Bach was just in the clear. It was also very windy, even down by the road. Luckily, even though it was February it didn't feel all that cold. We tramped up to the bottom of the crag, where there were several other parties climbing. I decided to climb the arete at the near end of the crag. All the routes are about the same grade and you can climb anywhere at about VDiff, although many of the routes are easier. However, as it's at the edge of the crag the arete feels pleasantly exposed. I unravelled the rope and we geared up. The crag s about 200ft high and as there were three of us climbing on a single 50 metre rope, doubled, we were in for two and a bit pitches of climbing.

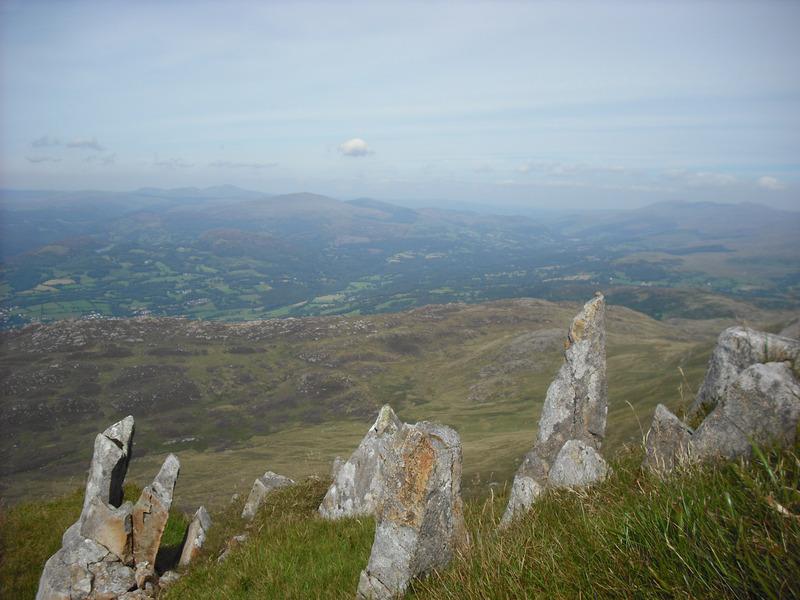
I started up the arete, but as I gained height I became increasingly exposed to the wind blowing up the valley. I teetered over from the arete to a crack a few feet to the right, where the gear was much better. I reached the end of the rope, just as I got to a convenient recess, where I belayed. The second pitch was more interesting, as the wind had increased to the point where it was quite difficult to stay in balance. I reached another recess and brought Ella up. She buried herself in a hole just below me out of the wind, while I brought John up. It wasn't far to the top and soon we were all sheltering behind a rock while I sorted out the gear. Ella was very cold, so I gave her my Paramo Tores gilet to warm her up a bit. When we emerged from our shelter it was hard to stand upright in the wind. However, we soon scrambled over the top and dropped down the other side, where we were more sheltered. The children seemed to have enjoyed themselves, despite the challenging conditions and it didn't take long to get to Pete's Eats for tea.

Ortlieb Map Case

I have never had a map case before. In fact I always thought of them as a bit naff. However, after more than thirty years of stopping to get the map out of the top pocket of my rucksack and then struggling to fold it in the wind, I finally decided that it was time I bought a map case.

I did some research on the various cases available and came to the conclusion, that although it was expensive, the Ortlieb case was probably the best option. I bought mine from Facewest.

Ortlieb Map Case

When I unpacked the case I noticed how soft and flexible the material felt. Several of the reviews I had read said how the case could easily be rolled up, or even used as a seat, without creasing it. The roll top closure system is very easy to use and has kept my maps dry. Now that I have a map case, I wonder why I didn't buy one years ago. It's not only useful for storing maps, but any other bits of paper that you might want to refer to when walking, like bearings and distances. I have also used it several times on cycle rides. On the bike if you sling it over your shoulder it does tend to flap about a bit and get in the way. However, it will attach to an Ortlieb bar bag. Oh no! Another bit of kit to get.

Llanberis.Circuit

I found this ride in "BikeFax - The best mountain bike trails in Snowdonia". It's probably the easiest ride in the book, but well worth doing. It's all on tracks or minor roads and is suitable for all but very young children. You don't need a "Mountain Bike" for this route, a road bike will be fine.

  • Time around 1.5 hours.
  • Distance 10.5km.
  • Ascent 225m.

Llyn Padarn and the Glyders

Note to see more photographs from the walk click here You could start the ride in several places. We have started from the Caban at Brynrefail and from the lake at Llanberis. However, the parking at Llanberis is Pay and Display, whereas the parking near to the Caban is free.

From the Caban cycle over the bridge and turn left following the Lon Las Peris route. You will have to lift your bikes over the first gate on the old road. When the track meets the main road, pay close attention to the signs. You need to go along the footpath a hundred yards or so in the direction of Caernarfon and then cross the road, where the track continues back in the direction of Llanberis. Soon after crossing the road you pass through a short tunnel. You don't need lights, but it can be quite dark so take care when cycling.

Initial steep hill

Note to see more photographs from the walk click here The path follows the shore of Llyn Padarn to emerge at the large car park by the main road. Cross the road at the far end of the car park and go past (or into) Pete's Eats. The route continues up Goodman Street opposite to Pete's Eats. The steepest section of the ride is just in front, but it's short lived. There is quite a lot more uphill, but nothing really steep.

Slate Quarry

Note to see more photographs from the walk click here Make sure that you stop by the quarries and look through the fence into their depths. As you continue to climb the views open out. Snowdon and the Glyders behind and the coast and Anglesey in front. The high point is Pen Y Bwlch and you now begine the steep descent towards Bryn Bas Castle. Care is needed here because you may meet cars coming uphill around the blind bends.

Bryn Bas Castle

When you reach the castle you pass under an arch formed by the castle walls and shortly after turn right. There is a short uphill section before the final steep descent, via a couple of hairpins, into Cwm y Glo. At the junction turn right and continue until you reach the junction with the main road.

View West from Pen Y Bwlch

Cross the road, turning right towards Llanberis. After a short distance take the first turn left. This looks like the entrance to an industrial estate at first glance. Tun right and follow a track which emerges on the main road opposite to the bridge to Brynrefail. Cross the main road and continue back to the Caban for well earned refreshments.

Alpkit Gamma Headtorch

I am a bit of a head torch addict. Over the years I have had a number of different ones - mostly from Petzl. These include the original Petzl Zoom, which used the old flat batteries and an updated version which used AA batteries. These accompanied me on many Alpine and Scottish winter trips. However, the battery life was limited, which meant carrying heavy spares. In the case of the original Zoom the connections could often be a bit dodgy, which meant disassembling the torch in the dark in freezing cold to get it working again.

Fast forward 20 years or so and most head torches have LED lights. They may not be quite as bright as the original torches, but they run off AAA batteries, which means carrying spare batteries doesn't have a significant weight penalty. Battery life is much greater than the original Petzl Zoom and reliability seems significantly better.

I already have a Petzl eLite, which lives in the car. Last year I bought a Petzl ???. One reason for choosing this particular torch is the red LED. This is useful outside when I don't want to destroy my night vision. I also use the red LED at home, or on holiday. I tend to get up much earlier than the rest of the family and I can switch on the torch to see what I am doing without disturbing anyone else.

However, it's usually in the wrong place. I use it at night when I go outside to find the cats, or check on the buildings, but I also keep it in the bedroom when I am asleep. Thus it's usually downstairs when I want it upstairs or vice-versa. The obvious solution was to buy yet another head torch, keeping one upstairs and one downstairs. However, Petzl head torches are not cheap. Luckily I discovered the Alpkit Gamma . I have bought a few things from Alpkit and been very happy with their products and service. The Gamma has white, green and red LED's with a strobe mode for emergencies. There is another red LED at the back of the battery box, which can also be set to strobe. All this is an amazing £12.50 delivered, including three Duracell AAA batteries.

I bought one just before Christmas and am delighted with it. I have used the main beam when cycling, with the rear LED in flashing mode a couple of times and at the speed I go there is plenty of illumination on dark country lanes. It doesn't have the sliding filter over the lens to switch between spot and flood modes that the Petzl has, but i don't miss this. In fact I generally prefer it to my Petzl.

Backpacking In Wales By Showell Styles

Showell Styles (known to his friends as "Pip") was a prolific author with over 160 published books. I think that I first became aware of his mountaineering writing when I used to read "Climber and Rambler", where he published several articles. He also contributed to Ken Wilson's "Classic Rock" writing about three climbs on the East Face of Tryfan.

Backpacking in Wales

My father was an avid reader of seafaring books and one day I noticed him reading a book by Showell Styles and that's how I found about his fiction. Although I have my father's copies of many of his seafaring fiction, I have never read any of his mountaineering books.

A few months ago I read a post on Outdoors Magic which described following one of Styles' routes described in his "Backpacking in Wales" book the "Bay to Bay" walk. After reading the post I decided I would also like to read "Backpacking in Wales". Although Styles books have long been out of print, most of them are available from second hand booksellers. A quick search showed up several copies, but for some reason they were all priced between £20 and £35. This seemed a little strange because almost all of Styles other books are available for less than £10. Even stranger - if I visited the US sites of these same booksellers the same book was available for $6! For a while I considered trying to order the book via the US site. The books themselves were all dispatched from Britain, but I decided that this probably wouldn't work.

Today I was in Shrewsbury and went into a second hand book shop to see if they had any mountaineering books. In the section with books about Wales I found a copy of "Backpacking in Wales" in excellent condition for £4.Unable to believe my good fortune, I promptly bought it.

There is a plate inside the book showing it originally belonged to DAG Hampton Davies. The plate has a Welsh inscription "Duw Gwir a Gwiad". The book itself is divided into three sections "Journeys for a Fortnight", "Journeys for a Week" and "Journeys for a Weekend". Each day of a walk is preceded by a detailed route description, followed by Styles' own account of the day. haven't read all the book yet, but it has already given me several new ideas for walks and Styles' descriptions of the Welsh landscape and his journeys through it are always worth reading.

"Backpacking in Wales" by Showell Styles was published by Robert Hale (London) in 1977.

Lowe Alpine Cap Vs Trekmates Ice Gtx Cap Vs Paramo

In the warmer months of the year I wear my Paramo Cap. However, in the recent very cold winter weather it wasn't really warm enough. I have read many reviews of the Lowe Alpine Cap, which seems to be a classic winter hat. The only drawback was the price of around £35. I didn't want to spend that much on a hat I would probably only wear for a limited period of the year. Luckily, I found it discounted to £15 in a GoOutdoors sale, so I ordered one.

Recently I succumbed to a TGO subscription offer, which included a Trekmates Ice Cap. The rest of this post is a comparison of the Paramo, Lowe Alpine and Trekmates caps.

Lowe Alpine Cap.

I have been wearing it every day since early November and it has kept my head warm and dry in all sorts of wet and cold conditions. The outer is made from Goretex with fully taped seams and keeps out the wort of the rain and snow. The inner is lined with warm fleecy material and there is a small peak, which can be fastened out of the way using a press stud.

Lowe Alpine Cap

Likes:

  • Waterproof and very warm.
  • Warm ear flaps. These can be folded inside the cap if you don't want to use them.
  • Adjustable fit.

Dislikes:

  • Too warm for much of the year.
  • There are loops for a chip strap, but to strap is provided (unlike the Paramo).
  • Peak could be a bit larger.

Trekmates Ice Cap.

The Trekmates Ice Cap is a very similar design to the Lowe. Hardly surprising that they chose to copy such and excellent design. I got mine as part of a TGO subscription offer. The outer is Goretex Paclite and the inner is a fleecy material similar to the Lowe.

Trekmates Ice Cap

Overall the cap is lighter than the Lowe and as such I may be able to wear it outside the winter months.

Likes:

  • Similar design to the Lowe, so has all the benefits of this design.
  • Overall lighter than the Lowe Cap, so could be more useful in warmer weather.
  • Broader peak than the Lowe, giving better shielding from the sun.

Dislikes:

  • Loops for a chin strap, but none provided.
  • Only available in a single size.

Paramo Cap.

The Paramo is made from Paramo's own fabric. It's available in a range of sizes and is waterproof if treated with Nickwax TX.

Paramo Cap

Likes:

  • Very light (80g).
  • Long ear and neck flap for protection from rain and sun. These can be folded inside the cap when not required.
  • Good range of adjustments, including elasticated neck and face volume.
  • Good size peak.
  • Poppered chin strap with big tabs making it easy to undo with gloves. Lowe and Trekmates take note!

Dislikes:

  • None really, but it isn't as warm as the Lowe and Trekmates caps.

Casio Protrek Watch

I needed to buy a new watch and I wanted to get one that had altimeter and compass functions in addition to the "normal" watch stuff. I did quite a lot of research and it came down to a choice between the Casio Protrek and a Suunto Core. There is a good comparison on Youtube between the Suunto and a Casio Pathfinder here .

Casio Protrek

The Suunto has more functions, but costs considerably more (around £170) than the Casio (around £90). The question was would I actually use any of the additional functions in the Suunto? The main additional functions in the Suunto are:

  • Storm alarm if the barometric pressure drops suddenly.
  • Intelligent switching between barometer and altimeter modes.
  • Sunrise and sunset times.
  • More logging options for the altimeter and barometer.
  • User replaceable battery.
  • Countdown timer.
  • Magnetic declination setting on the compass.

Of these the only options I would really miss are the user replaceable battery and the countdown timer. I decided that for the difference in price, I could live without these.

You may ask, "Why do you need a countdown timer?". I quite often want to be reminded that I need to do something in 45 mins, or in two and a half hours. I know that I could set an alarm to remind me. However, using a countdown timer is much easier than doing the mental arithmetic and fiddling with the clock to set the alarm for the correct time.

So, I ended up ordering a Casio Protrek PRG-40-3VUR from Amazon. When it arrived I actually read the manual (there's a first time for everything). However, after a bit of familiarising myself with the various settings I found the watch very easy to use. I was particularly keen to try out the altimeter. By default the watch tries to work this out by itself, without requiring any reference setting. Not surprisingly this turned out to be not particularly accurate. However, once I set a reference altitude the altimeter was accurate. Having an altimeter when hill walking, or climbing can be very useful. In poor visibility it can make pin pointing your position on a mountain much easier and it's a useful check on how much more you need to climb before reaching the summit!

The compass seems accurate and will save me from having to keep getting my Silva out of the rucksack. The alarm doesn't have a snooze function and probably wouldn't be loud enough to wake me. However, I always have my phone with me, which fulfils both these requirements.

Unfortunately, after a couple of weeks one of the small screws securing the strap to the watch came out, thus the bar holding the strap on could easily slide out. I took the watch to several jewellers thinking that it would be a ten second job to put in a new screw. However, it seems that whatever size screw Casio use isn't generally available. I ended up returning the watch to Amazon for a replacement. To Amazon's credit the whole process was painless. I simply printed out a label for the courier to collect the old watch and Amazon dispatched a new one to me immediately. I wish that other on line retailers made this process as simple. I have only had the replacement watch a couple of days, so here's hoping that I don't have a problem with this one!

Hammock

The girls have been pestering me for months to buy a hammock. By accident I noticed that the backpackinglight web site had a special promotion on lightweight silk hammocks. I ordered one and with the usual efficient service it arrived next day.

Resting in the hammock.

Originally I was going to hang it using the frame from the swings, but this turned out to be not quite long enough. Luckily the gate near the back door has trees either side and the gap was just right for hanging the hammock. For anyone else who wants to try this, the posts that you hang the hammock from need to be about 12 feet apart.

It has been a great success, I have hardly been able to get the children out of it since I put it up!

Cyfrwy Arete Cadair Idris

Cyfrwy Arete.

After weeks of poor weather the forecast was good for a couple of days. The children were keen to go camping, so I suggested going to the Cwmrhwyddfor Farm camp site near Tal y Llyn, off the A487 Dolgellau to Machynlleth road. I hadn't stayed there since the 1980's, but remember it being a decent site.

We arrived late in the afternoon to be met at the entrance by the old man who owns the farm. He now has very bad arthritis and spends his day sitting in the car collecting camp site fees, while the rest of the family work the farm. Although it was the middle of the summer holidays, the site wasn't too crowded. We drove around the site and settled near the far end of the top field next to a couple of large family tents. These were occupied by a group of Scousers with several small children and a number of dogs. We did wonder if they children or the dogs would be noisy, but as it turned out they weren't the problem.

Ella plodding up the scree slope.

We went for tea at the pub at the end of Tal y Lyn, where the food was basic "pub grub". We got back to the camp site as it was getting dark and after half an hour or so chatting went to bed. The Scousers were starting to enjoy themselves and as the evening progressed they got drunker and louder. The noise continued until 12:30am when they finally all passed out. Amazingly amidst all the racket the children and dogs were silent, we reckon they must have drugged them.

We got up the next morning and after breakfast drove round to Dolgellau to buy some socks for Hannah, as we had forgotten to bring any! We drove round to the car park at Ty-nant. The plan was to walk up to Llyn y Gadair, where I was going to take the children up Cyfrwy Arete. I knew that the Pony Path that starts from near the car park lead up the ridge to the summit and didn't provide easy access to the Cwm. We crossed the road and walked through the camp site and through the trees on the far side of Llyn Gwernan. The plan was to try and cut across either end of the lake to join the path starting from the Gwernan Lake Hotel. Unfortunately, this didn't work out as planned and we had to go a long way past the end of the lake before regaining the road and back tracking to the hotel. To add insult the injury it was a Monday and guess which is the only day of the week the hotel is closed? Rather than a nice bar meal, we sat on the benches outside and munched our sandwiches.

Looking NE from the screes.

The walk up to the Cwm containing Llyn y Gadair was really enjoyable. The views of Cadair gradually unfold as you gain height. Even the fact that I was carrying a heavy sack with four sets of climbing gear didn't spoil it. I had told everyone that we would be walking up to a lake, but neglected to mention that there were two lakes. There was an outbreak of moaning when we arrived at Llyn Gafr and I said that we had to continue up the steep slope in front to Llyn y Gadair. It was about 2:00pm by the time we arrived and I estimated it would take about 2hrs to climb the arete itself, plus however long it took us to get to the bottom of it. So reluctantly we decided that there wasn't time to do the climb.

Having got this far, I wanted to traverse the summit. Ella said that she wanted to come with me, but the others decided to descend. I gave them the map and showed them that they just needed to contour along the slope until they joined the Foxes path, which would lead them back to the car.

Ella on the summit of Pen y Gadair.

Ella and I walked over towards the start of the 1,000 foot scree slope that leads to the summit of Penygadair. I checked the altitude on my Casio Protrek watch and was pleased to see that it agreed with the map. The scree slope is very badly eroded and the only thin worse than ascending it would be descending it. With my big load I was going slowly. Ella was tired and kept stopping for rests. However, she never once complained, even though she had a blister. As we gained height we were exposed to the wind. We stopped to put on our Rab Generator smocks, which have been a great gear success.

On the summit ridge the wind was buffeting Ella and by the cairn she could lean into the wind with her whole body weight. It seemed a long way along the Pony Track before it began dropping back into the valley. Just before we started descending,we met two mountain bikers who had cycled up from Dolgellau and were carrying their bikes. I started to get cramp in my legs, but drinking some water soon relieved the symptoms.

Almost back at the road.

The forecast had been for the weather to deteriorate in the evening and I could see clouds arriving from the direction of Barmouth and beginning to envelop the higher ground. Luckily, we managed to get back to the road before it started raining. At the junction with the road I didn't know whether to turn left or right, as I had given the map to the others. I decided to turn right and in less than five minutes we were back at the car.

We drove back to Dolgellau and had tea at Y Sospan in Queens Square. This is a great little cafe/restaurant in the old (1606) jailhouse. We had a cup of coffee and a snack there earlier in the day. The food in he evening was very good and reasonably priced. They are also very child friendly.

Manifold Cycle Ride

The Manifold Valley in Derbyshire has an 8.5 mile cycle trail that follows the line of an old railway line through the valley. It's a linear ride, so you will end up cycling the trail both ways, but it's so enjoyable that this isn't a disadvantage.

There is a short section along a quiet lane and the ride is almost completely flat, so it's suitable for children. you can begin either at Hulme End or Waterhouses and there is ample car parking at either end. My personal preference is to start at Hulme End because the ride to Waterhouses is very slightly uphill, so it's downhill almost all the way back!

There is a cafe at Hulme End, which is closed on Mondays, one at Wetton Mill and another one at a farm about a mile from the Waterhouses end of the trail.

The trail passes close to Beeston Tor which has some classic rocks climbs. There is also Thor's Cave up on the hillside. You can park the bikes at the bottom and follow an obvious path that climbs up to the cave, where you get an excellent view over the Manifold Valley. The cave was probably occupied by humans as long as 10,000 years ago. Stone tools and the remains of long extinct animals have been found inside the cave.

The trail is very popular with walkers and cyclists. However, if you get up early you can have it almost completely to yourself.

Camping.

There are several camp sites near the Hulme End of the trail, including one in a field behind the pub. We have stayed at the Wallbrook House site a couple of times. the facilities are basic, but very clean and the owners (Mr & Mrs Goodwin) very friendly. The site is a single field, which both times we have stayed there has been very quiet. The village shop and the pub in Hulme End are about a mile away. One of the best features of the site from our point of view is that's really in the middle of nowhere.

Pubs.

The George at Alstonfield is only about three miles away from Hulme End. It's an old family run pub that serves locally sourced food. The interior has been restored with lime plaster and old furniture.